Your first mission (part 7)
This is the seventh part of 'Your first mission' make sure you have read the previous parts before you start.
Move your camera to the area just before the first runway hanger then go to CheckPoint > Show. Use the image below for reference.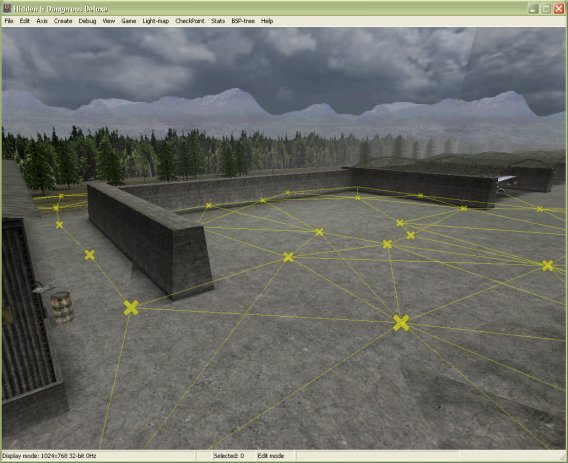
Create an enemy soldier by pressing Shift + M and using the 'german1.i3d' model. Set the enemy actor by pressing A, to drop him to the ground press Ctrl + G. Now press Ctrl + V to change his collisions to non static.
Move your camera up into the air about 10 metres then go to CheckPoint > Create or press Shift + K. Now go to CheckPoint > Set Type, a screen like below will pop up make sure you select user.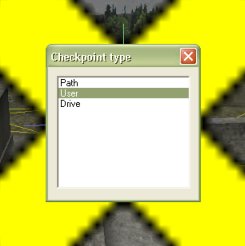
The checkpoint should now be green. With the checkpoint selected go to CheckPoint > Fall selection or press Ctrl + Alt + K to drop it level with the other checkpoints.
Move the checkpoint in front of the enemy then go to CheckPoint > Rename. A screen will pop up asking you to enter a name. Call it 'wp01', which means waypoint01 for short, always name things as easily as you can.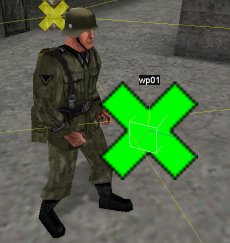
Go up to CheckPoint > Edit or simply press K, your cursor should change to having a little checkpoint in the bottom right of it. Now click and hold your checkpoint it will turn red, now move the cursor out in front of you and release. You should end up with a line like below.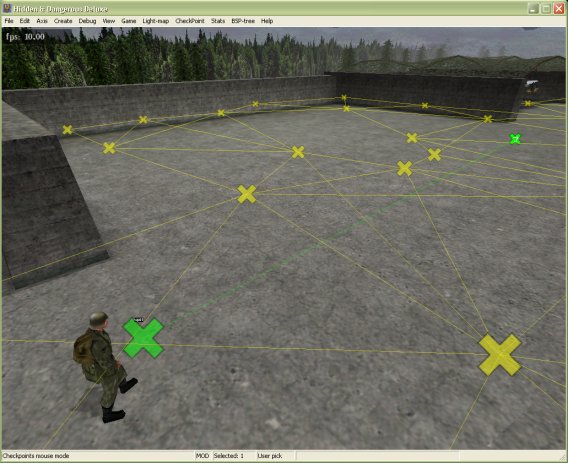
To get out of Checkpoint edit mode simply right click.
Select your enemy soldier and bring up his properties by pressing Ctrl + Enter. Now setup a program item like I have below.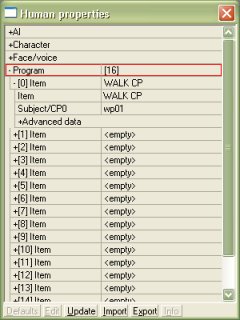
WALK CP means walk checkpoint and for Subject/CP0 the item was 'wp01', see programming is really simple. Now to give the enemy soldier a weapon. First close the human properties screen, now go to File > Edit Table > Inventory and open up the menu tree. As you can see below there is the inventory list, use this for reference only do not change anything.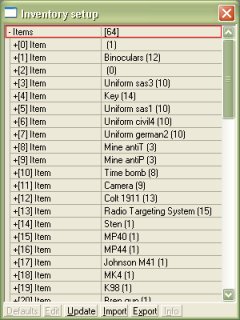
Now you want the enemy soldier to use an MP40, the item number for that weapon is 15. Close the inventory setup screen and open your soldiers properties again. Open up the inventory menu tree and copy the settings from below.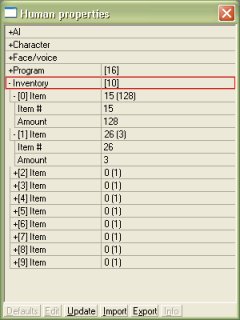
As we worked out before weapon item 15 is the MP40 but I added in another weapon item number. It's not completely hard to work out 26 is the weapon item for the German grenade.
It is now time to test your enemy patrol, save your mission then reload it. Press F8 to acquire the camera off it will say 'Camera acquire off' in the status bar. Now press F6 to go into game mode. When you are done viewing your enemy walk his patrol press F5 to return to edit mode then reload your mission, don't save it.
Now if your enemy walked his patrol like mine you'll realise that the AI in Hidden & Dangerous can be stupid. For some reason the yellow checkpoints over ride or act as more of a strict guide than the green checkpoints. So keep that in mind and feel free to move the yellow checkpoints around. It is always a good idea to test your patrols.
Feel free to go crazy and put as many patrols in your mission as you want.
Now to go on to part 8 of the tutorial, click here
Written by Jason Batten